A few days ago I had an idea to create my personal portfolio of photos that I shooted. So I want is to be a static site only to deploy my photos and some contact informations. I have looked for Hugo Themes but I don’t found anyone that I liked too much. So finally, I find a Aperture Theme by CloudCanon that was exactly what I looking for.

They provide a CMS for your jekyll site, but I wanted a total power to custom my new site with original code, so I cloned a repo on github and started a work.
_config.yml
Here`s we do a basic changes like title, baseurl, name, links etc. nothing special
Gemfile
Now we install bundled Gems into RubyGems (locally) using sudo: sudo bundle install .
After we run a server: jekyll serve --port 5500
Probably, you will have a warning something like me:
WARN: Unresolved specs during Gem::Specification.reset:
eventmachine (>= 0.12.9)
rb-fsevent (>= 0.9.4, ~> 0.9)
ffi (< 2, >= 0.5.0)
This is due to a multiple versions of the same gems, check out: gem list eventmachine:
LOCAL GEMS
eventmachine (1.2.7, 1.2.5)
LOCAL GEMS
eventmachine (1.2.7, 1.2.5)run sudo gem cleanup eventmachine rb-fsevent ffi resolve a problem. After I have a jekyll version 3.8.3, so compare your current version of jekyll with that in a Gemfile, and if it’s different, replace with your current one.
After type bundle update jekyll again jekyll serve. If you have an error like:
Error: (/home/veax/Documents/projects/dev/photography_site/aperture-jekyll-template/_config.yml): mapping values are not allowed in this context at line 13 column 7
just shift author name email etc. values on the same line with others values and restart a server.
Link styles sheets
If you go now on a localhost (with the port that you choose - :4000 by default), and you see plain html text - you need to remove a baseurl in a _config.yml file if you added anyone before like this: baseurl: . Otherwise the paths to styles won’t be correct.
Uploads Photo System
Open an index.html in your favorite text editor (vscode of course).
In the front matter (text wrapped in 3 dashes in a start of file) you can see a photos variable with image and caption for which one. And in the body we have a loop through all photos mentionned in front matter of index.html. By the way, the photos will upload in a uploads folder and the caption and src you have to add in index.html
But I don’t want at first to add a photo in a folder and add a caption with image name yet in a front matter. This is a real pain and waste of time!
We can use site.static_files property to have access to our images in a loop. To avoid to have all the static files in our loop, we can add a condition that image path contains name of a folder where it is located:
{% for image in site.static_files %}
  {% if image.path contains 'uploads' %}

  <li style="background-image: url('{{ site.baseurl }}{{ site.image_fulls_loc }}/{{ image.name}}')">
    <a title="{{ image.name }}" href="{{ site.baseurl }}{{ site.image_fulls_loc }}/{{ image.name}}" data-id="#{{ image.name | slugify }}" data-caption="{{ image.name }}"></a>
  </li>
  {% endif %}
{% endfor %}
{% for image in site.static_files %}
{% if image.path contains 'uploads' %}
<li style="background-image: url('{{ site.baseurl }}{{ site.image_fulls_loc }}/{{ image.name}}')">
<a title="{{ image.name }}" href="{{ site.baseurl }}{{ site.image_fulls_loc }}/{{ image.name}}" data-id="#{{ image.name | slugify }}" data-caption="{{ image.name }}"></a>
</li>
{% endif %}
{% endfor %}Custom a template
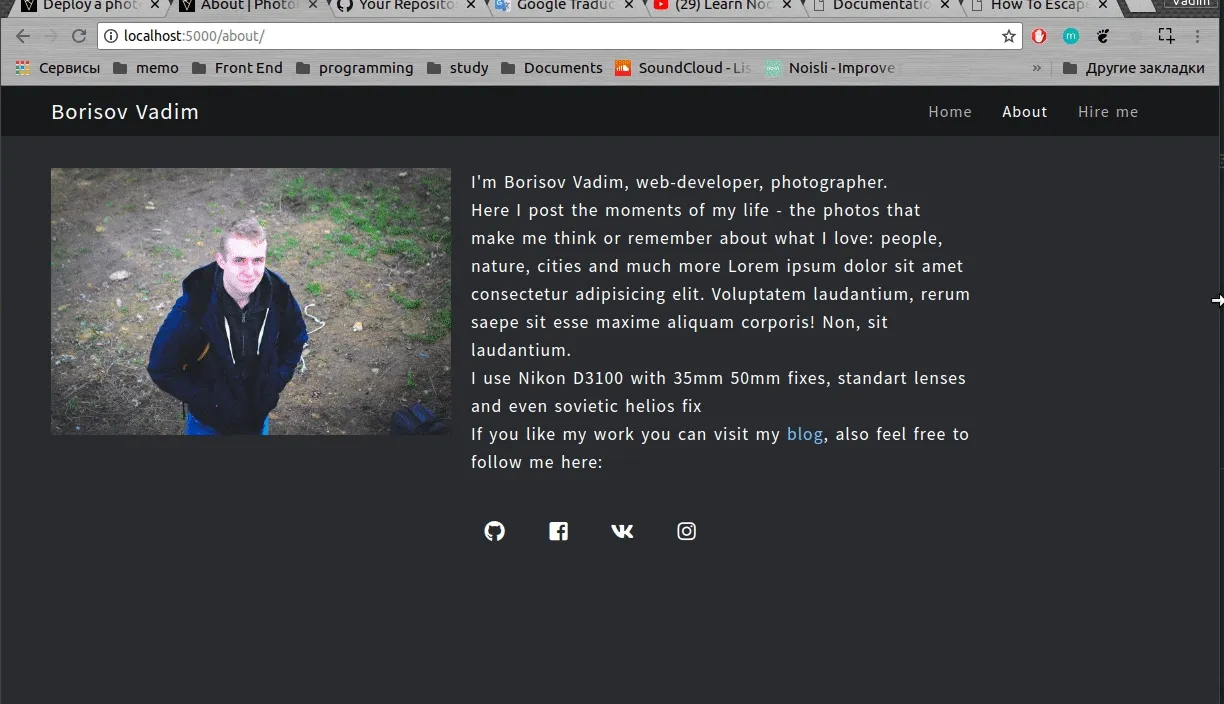
When I looked CMS By CloudCanon I really don’t liked that I can’t change this bold logo on a front page - this is one of the reason why I don’t use it (may be I’m just stupid and I don’t see how to do it x) So first of all I want to get rid off this logo - I will not explain this, simply modify default layout page.
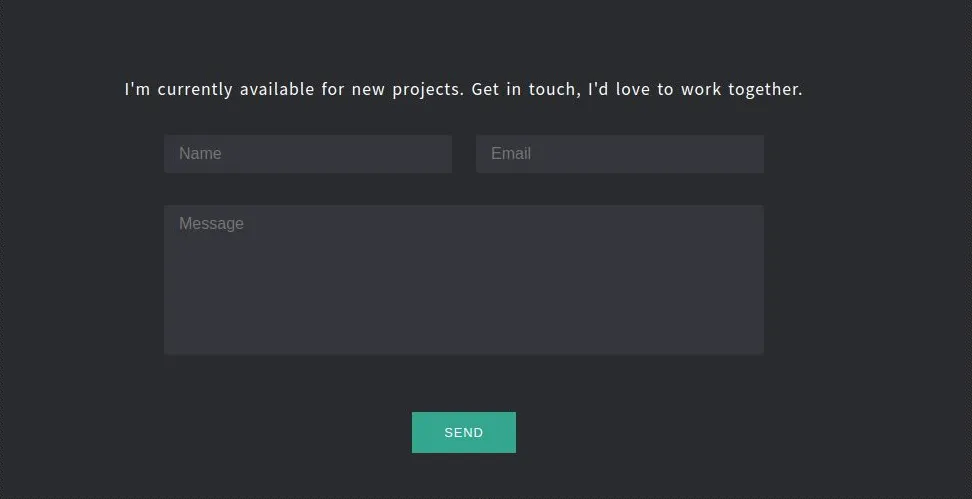
Now, I don’t like ugly form on hire me page, so I modified it, here is a result:
Also, initially the template in not responsive, so I did it like I wanted: mobile-friendly, you can see the final code on my github repo:
Deploy
To deploy a site on Netlify, you have many different options, I will deploy from github repo. So we have to initialize a new git repo and push it to github:
 git init
 git add .
 git commit -m "init"
git init
git add .
git commit -m "init"Create a new repo on github, connect your local version with remote and push it:
git remote add origin https://github.com/veax/Photography-Portfolio-Website.git
git push -u origin master
git remote add origin https://github.com/veax/Photography-Portfolio-Website.git
git push -u origin masterNow, go to Netlify and sign up (I do it by github account).
After click on New site from Git choose your git provider and pick up a repo that we pushed right before.
In build settings, verify build command, it would be: jekyll build
Choose dist directory after jekyll will generate your pages. I leave it by default: _site/
Click on Deploy Site and it’s done!
The last thing we need is to change a domain name. If you don’t want to have a netlify subdomain name in your url, you can buy it by googling. I will only change subdomain url name:
click on Site details and Change site name.
For me it is: https://veax-photos.netlify.com
Now, you can modified you local git repo and push it on git - netlify will automatically update the changes.
P.S
To lightweight images I use bash commands that I found on Ubuntu forum (link)
In a folder with your images execute this (you can choose other pixels width and compression rate if you want of course):
for i in *; do convert $i -resize 1024x $i-1024x.jpg; done;
for i in *-1024x.jpg; do convert $i -quality 80% $i-80p.jpg; done;
for i in *; do convert $i -resize 1024x $i-1024x.jpg; done;
for i in *-1024x.jpg; do convert $i -quality 80% $i-80p.jpg; done;And you can move now your converted images in ‘uploads’ folder:
for i in *-80p.jpg; do mv $i ~/path_to_site_root/uploads; done;for i in *-80p.jpg; do mv $i ~/path_to_site_root/uploads; done;With this method I compressed my raw images from 388 Mb to 8.6 Mb with quite satisfying quality before upload.
That’s all, thank you for reading and happy coding!